
PLAN & PREP
First, we review all of your fit information, our CAD drawings of your bike and our records that include important information about the feel and components that are required for your new ride.
Chances are that we’ve already got a bin in our shop with your name on it, where we’ve been collecting the goodies that we need for your build. To reduce costs, we batch order our components to make sure that we can give you our best price.

Next, we pull all of the different thicknesses and lengths of tubing that are required for your build. The thickness and diameter of the tubing contribute importantly to the overall feel of your bike.
We make sure that all of the parts are ready and organized before we start. The basic anatomy of your bicycle includes: head tube, top tube, down tube, seat stays, chain stays, bottom bracket.

MITRE & SHAPING
Each of the raw pieces of tubing is measured and cut to length. We mitre the ends of the tube so that the fit between tubes in a joint are perfect. This is an iterative process that involves setting up our jig for the type of bike we’re building you as well as your exact measurements. Each tube is measured, cut and dry-fit in our jig. If needed, we refine the cut before carefully filing each surface for the snuggest fit possible. No light should escape a well mitred joint and this is one of the most time-consuming and critical steps to building a strong and beautiful looking bicycle.

Many of the tubes are also hand-shaped using a variety of custom tools during this stage of the build. These bends serve many important purposes and are specific to the style of bicycle, your fit and the experience you’d like to have on your bike. We think curves look darn sexy too! For example, our seat stays are carefully shaped, by-hand, to look good and provide you with the right kind of tire clearance for your build.

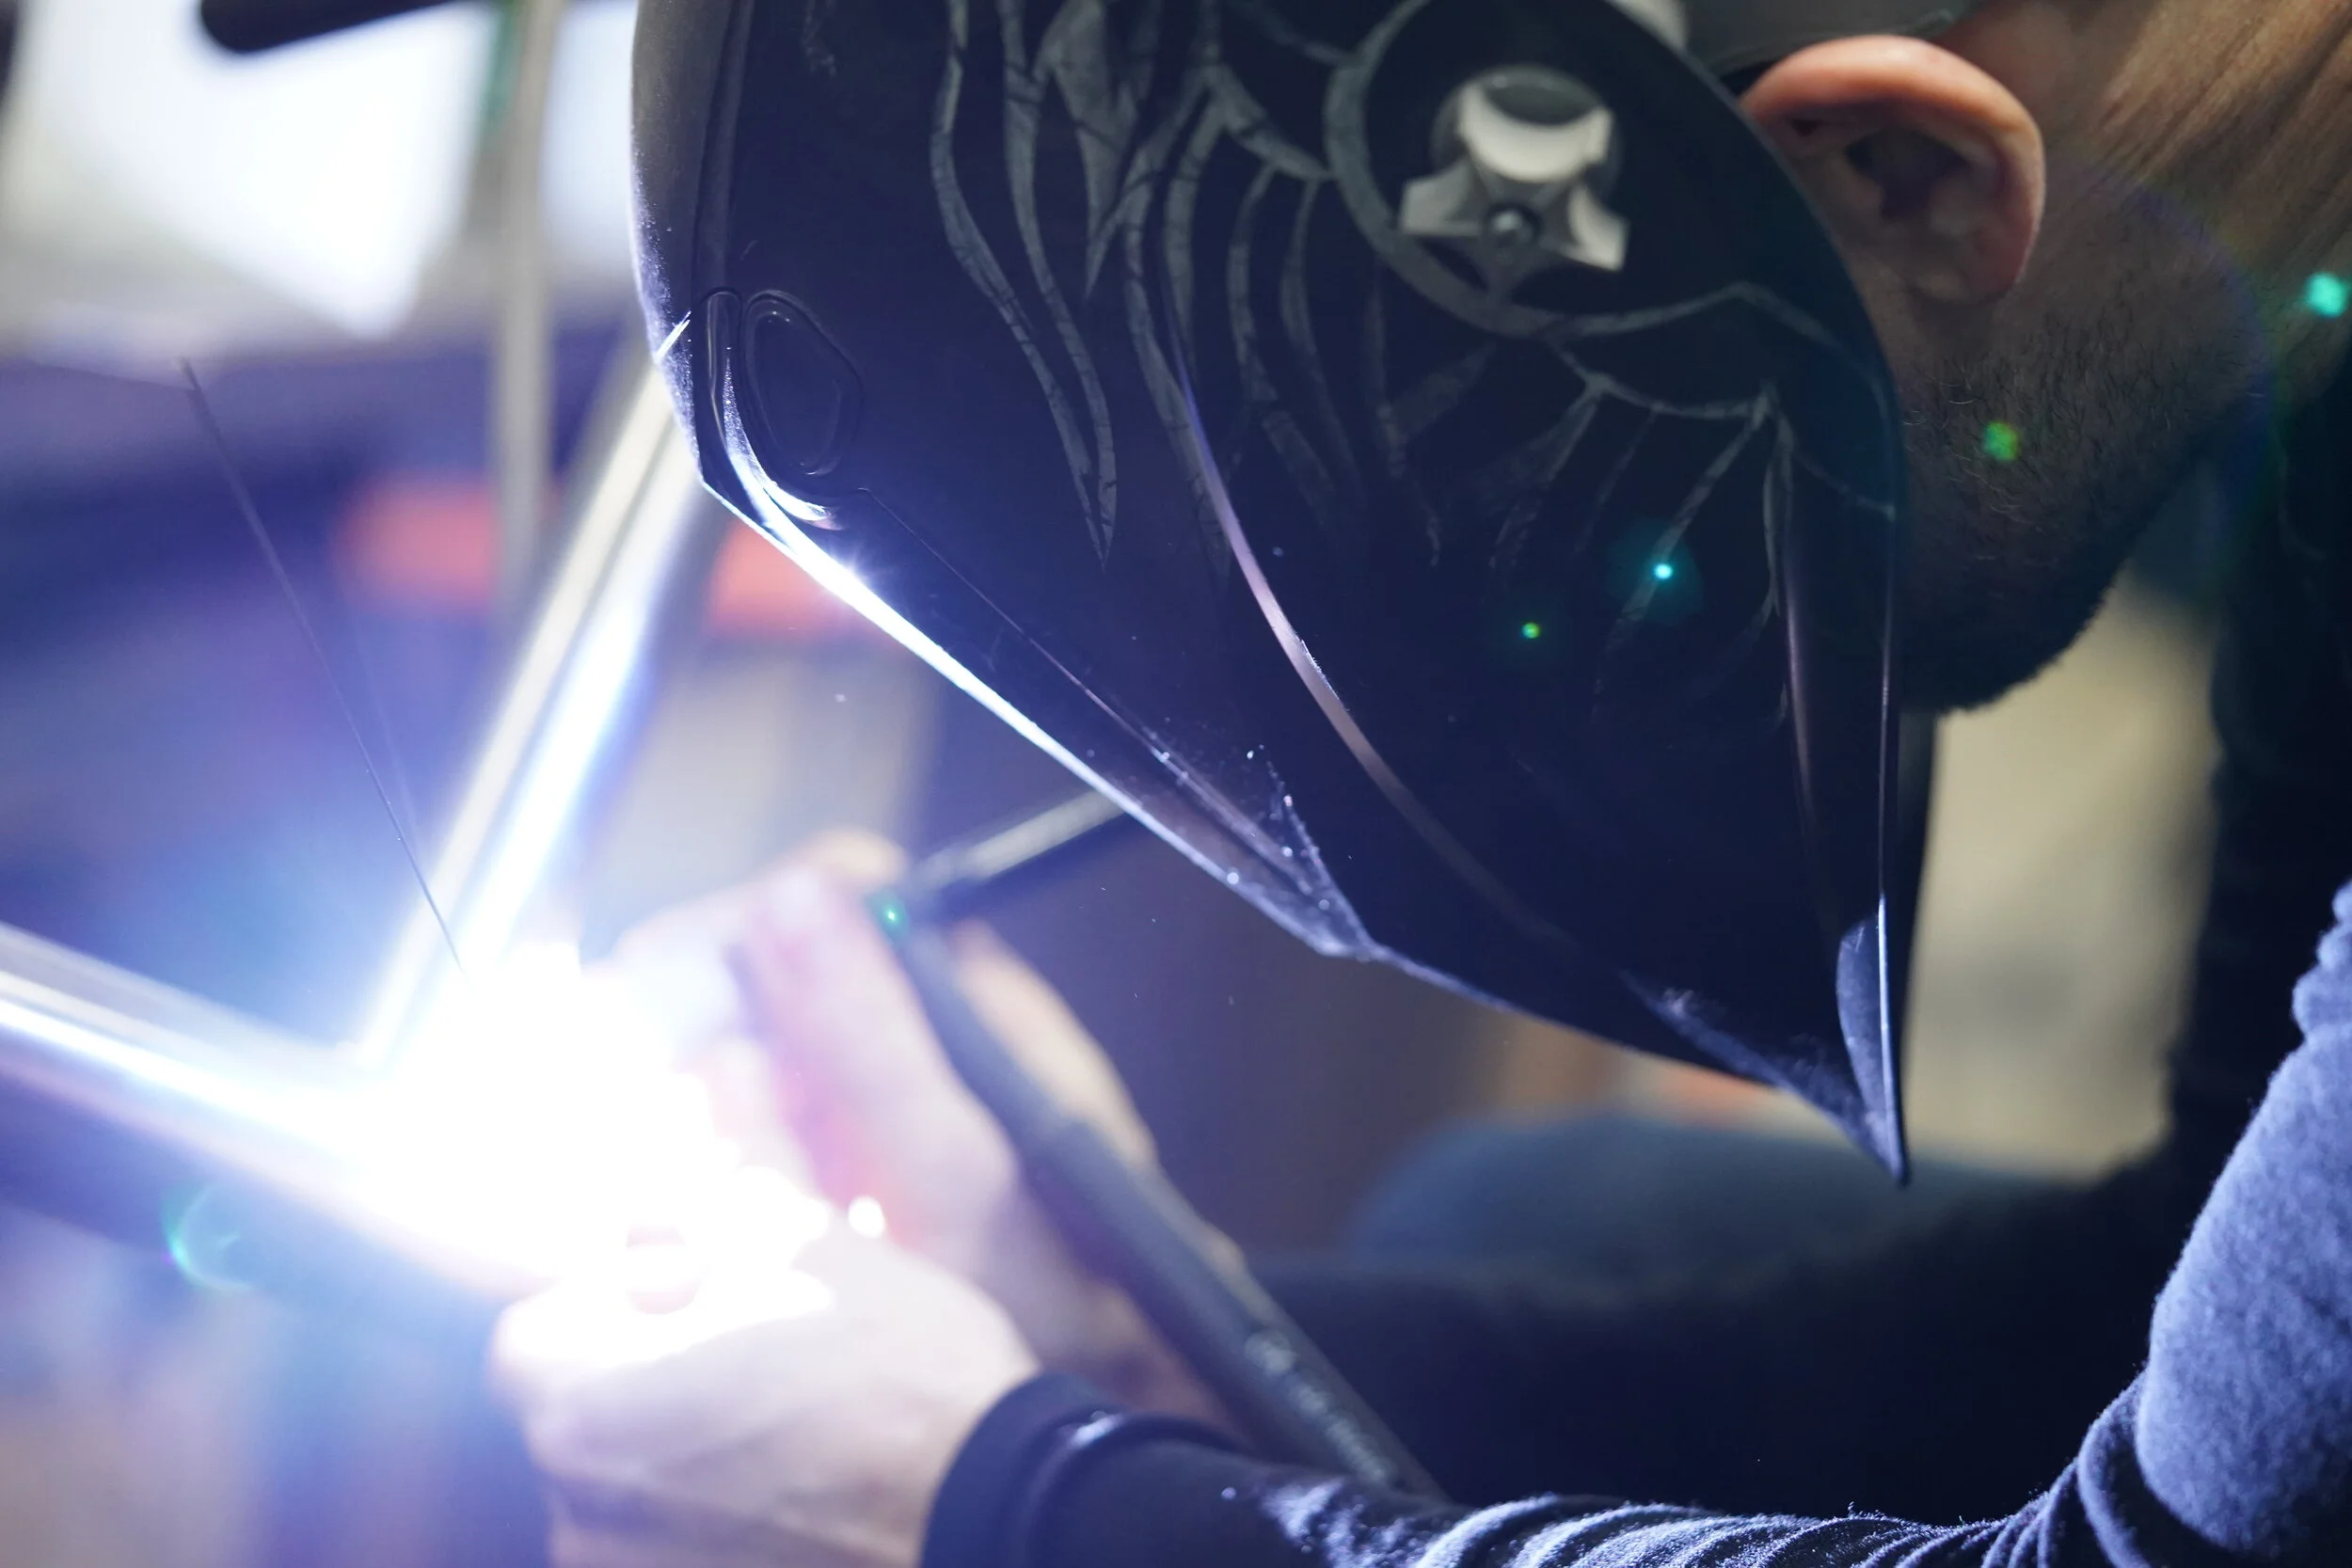
WELD
The first weld is a tack weld. With all of the tubes dry-fit in the jig, we tack-weld each joint. This ensures that all of the tubes fit nicely together and stably held into place before the next step.
A fusion pass follows the tack weld. This is the step where we carefully fuse the tubes in together along the entire perimeter of the joint. This pass is critical to the structural integrity of the bicycle. Carefully optimized weld conditions ensure that we do not overstress the metal. When done correctly, the weld is actually the strongest point on a bicycle - if a frame cracks, it’s typically on the tube and not the joint.

FABRICATING CUSTOM PARTS
With a few key machines, you can do a lot and really innovate. A knee mill, lathe, welding machine, and a big steel welding table are our main fabrication work horses. In combination with our forming and bending tools, a little creativity and elbow grease, these machines enable us to pretty much make anything for a bicycle. It’s amazing.
FRAME CLEANING: Reaming & Aligning
Drilling, cable housing, clean up
FINISHING
We do all of our finishing in house to produce the final aesthetic you’re dreaming of for your bike. Bead blast, polish, decals, paint, anodizing are all options. We like to embrace the simple elegance of raw titanium as much as possible. The magic of this material is partly in its durability to weather the elements as well as to endure years of use and loving abuse with little need for maintenance. Raw Ti with just a touch of pop from from polish, anodizing, decals or paint touches truly embodies our classic Naked aesthetic.
Finishing Options
Real communication with the client is trying to determine exactly what the client wants their bike to look like.
We like to celebrate the Naked aesthetic of letting the raw titanium stand alone.
Ease of care, durability, easily refreshed by polishing again with scotch brite, rather than the involved process of a full repaint
Even ‘raw’ can mean many different things: bead blasted, polished, scotch brite, anodized ...decal choices


ASSEMBLY
Most of the bikes we build are complete, and we have some extra tools to allow us to finish to perfection as we’re assembling the complete bikes with all the components.
We typically assemble the frame with a full build kit, to ensure optimal compatibility of frame and all components and cable routing. We prefer this option so we can resolve any tweaks if needed or fabricate any additional bits right here in our shop. We also hand build wheels in the shop to produce a cohesive and ready to roll bicycle so that you can ride away!

We try not to wax poetic, or to get too philosophical when talking about bikes, but we’ll do so here. We’re trying to move away from the idea that we build objects that are locked in time. Rather than feel like ‘a bicycle starts to die the moment it leaves the factory’, we try to celebrate the enduring experience each bike can provide if it’s built well. By using the materials and techniques you’ve witnessed above, you end up with a durable and re-workable machine. As your riding style changes, as we learn, as you break things that may need fixing, so too can we refinish, rebuild, adapt, modify and change your steed to remain relevant and ‘well-adjusted’ over time.
PHOTOS, PACKING & SHIPPING
We love to take pictures of the bikes that we build and post them online. It’s fun to celebrate and showcase your bike to the world! We make sure to grab some pics before your bike is shipped.
We’ll happily pack and ship you your bike. It’s waaay better though, if you can come in person and go for a ride or hang out for a coffee or beer. Nothing beats seeing your smile and watching you ride off into the sunset.